There are lots of benefits for a business to have their own email address instead of using the many free services out there like Gmail, Hotmail, Outlook, or any other. With your own email address your emails are branded with your name and not with a free service that gives a cheap, unprofessional impression.
For a small yearly cost you can have your business email hosted in Australia on Dedicated Email Servers that include Excellent Spam Filtering, Exchange, IMAP or POP and Web Retrieval.
After these instructions you’ll soon be using email like a pro. Still not getting it or it’s just too complicated? No problems, we’ll be happy to set up your email on any of your phones, laptops or computers. Simply contact us.
So, let’s get started.
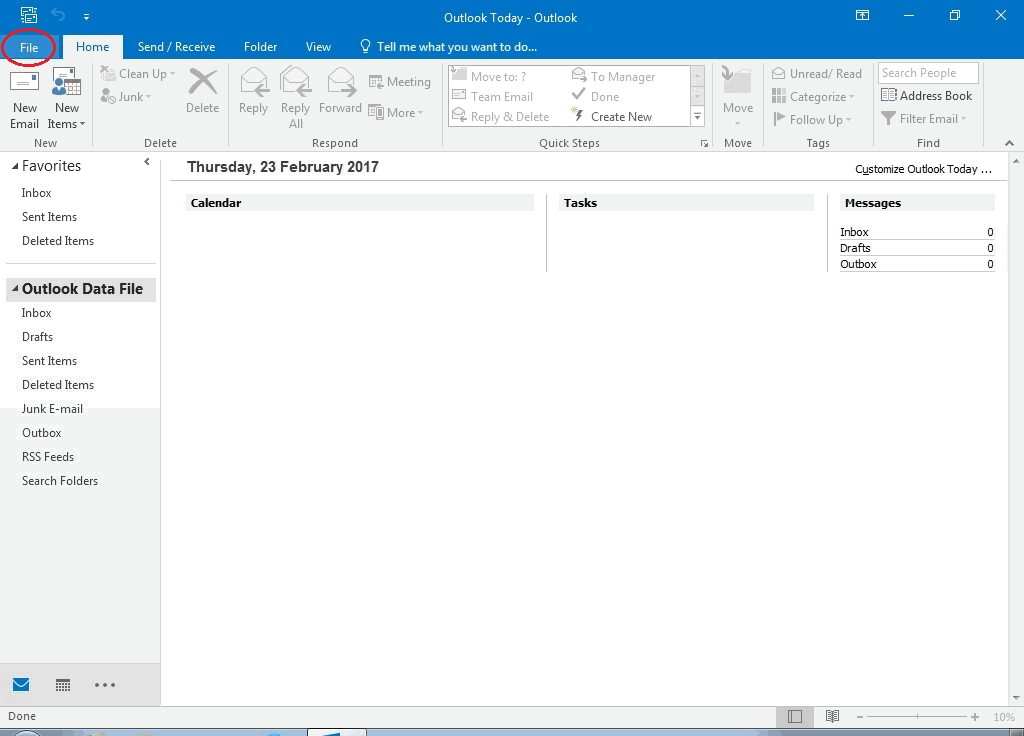
1. Open your Outlook 2016 Program and Click on File
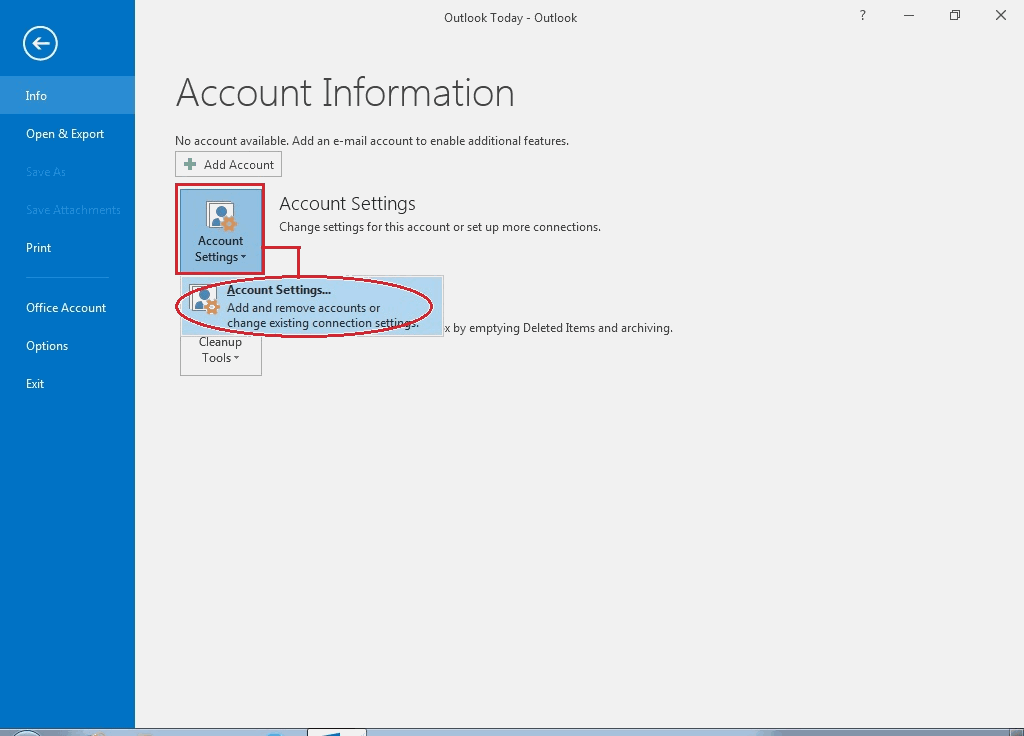
2. Click on Account Settings -> and then again on Account Settings drop down section
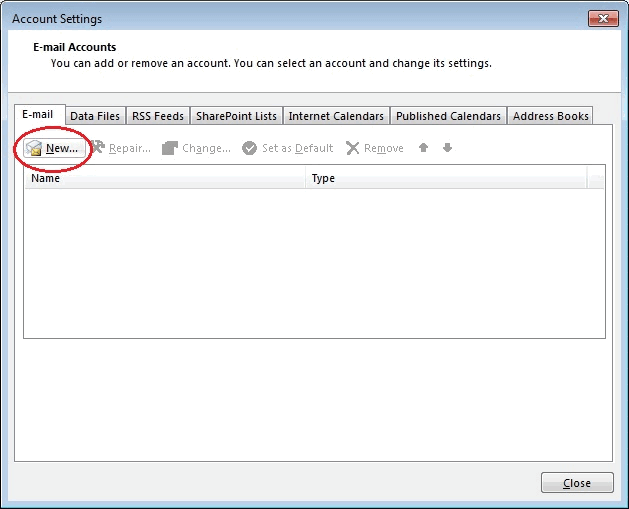
3. On the Account Settings Section – Click New
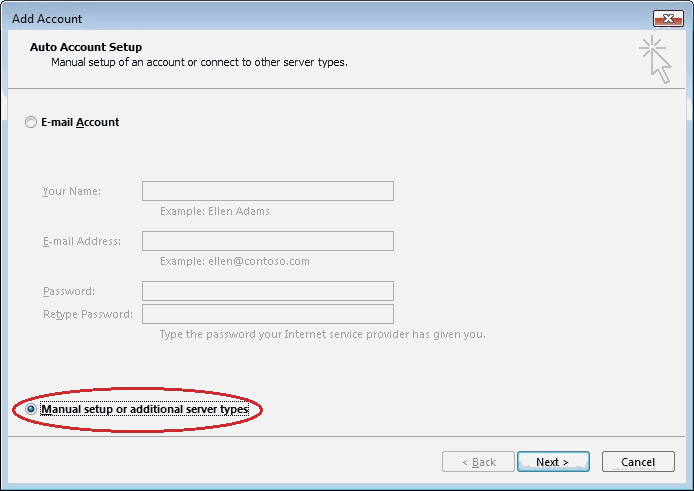
4. On the Add Account Section –
Select the Manual setup or additional server types and then click Next
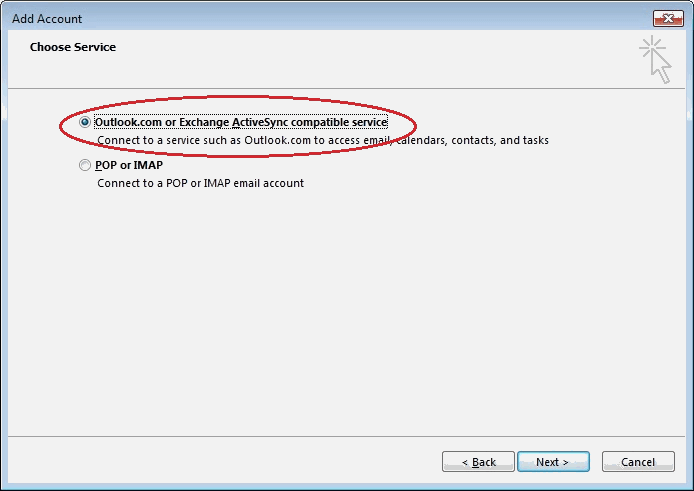
5. Still on the Add Account Section –
Select the Outlook.com or Exchange ActiveSync compatible service
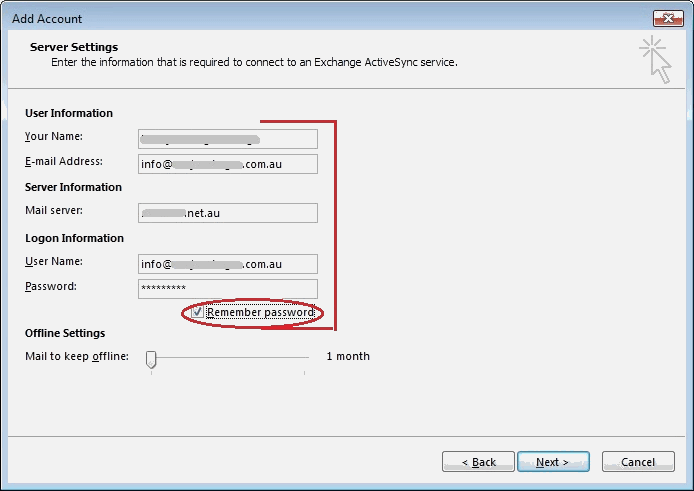
6. Enter your User Information.
In the Your Name field, it can be your Business Name.
Server Information – The Mail Server Address.
Logon Information – User name is the full email address.
#Ensure your password has a Mix of Upper Case, Lower Case, Numbers and Symbol
Choose if you would like All the email or 1 months’ worth on your Laptop/Computer when offline (not connected to the internet)
Click on Next
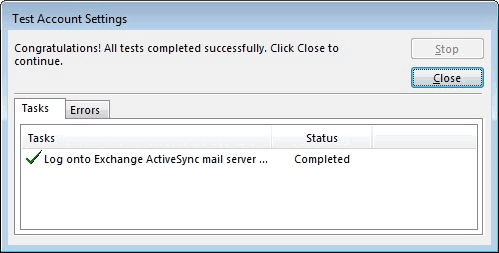
7. On the Test Account Settings section Click Close when the Status is Completed
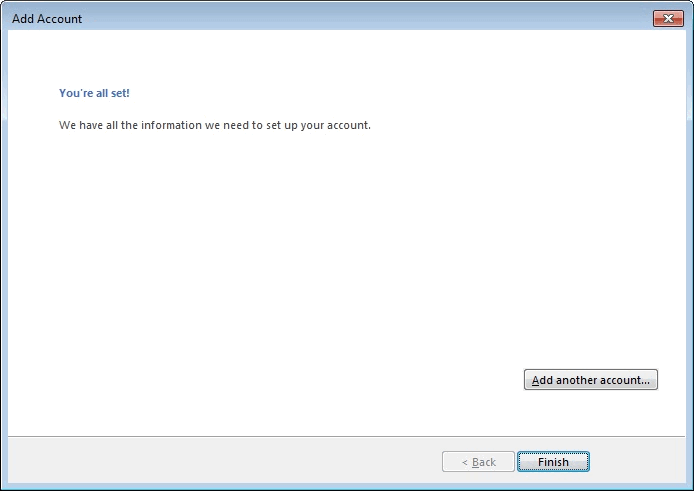
8. If you would like to add another account – Click on Add another account and follow above steps.
Else click on Finish
9. Back at the Account Settings, Click Close
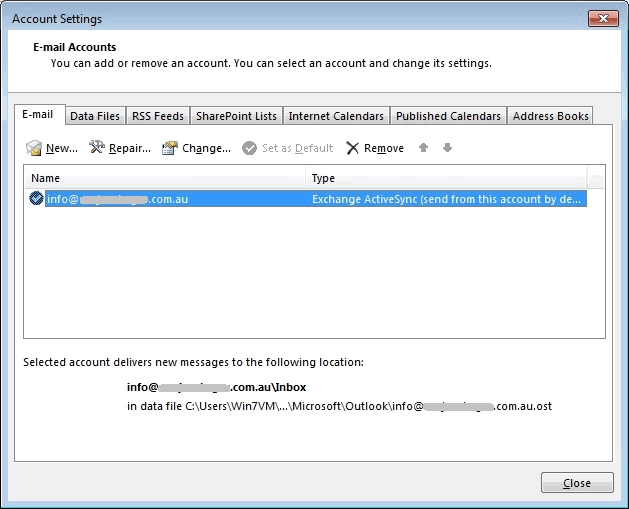
10. You’ve done it. Your new Dedicated Email service is set and ready to use.
Liked it? Let us know.
What’s Next?
How about adding an Email Signature to your emails that include a logo, contact details and business hours?
And finally I’d like to mention Email Etiquette. What to do and not do in Emails. Here’s a Hint, Emails are not limited to 140 characters or less so there are no excuses for silly abbreviations, not starting with a greeting or singing off. Did you know a signed off email with a Thanks gets up to 80% more action to it than none at all?